As the crisp autumn breeze ushers in a season of vibrant colours and cosy gatherings, there’s one vegetable that takes centre stage in kitchens around the world, the humble pumpkin, so let’s make pumpkin puree with it.
While pumpkins are often associated with Halloween decorations and Thanksgiving pies, there’s so much more to these versatile gourds. One delightful way to make the most of this fall favourite is by creating your own pumpkin puree to go with your pumpkin spice mixture.
I use pumpkins so much in these seasonal months as they are such a versatile food source. They work well as both sweet and savoury dishes and are packed full of healthy vitamins.
Pureeing pumpkin for use later on could be a great way to have less food waste too. So I will walk you through the simple steps to transform a fresh pumpkin into a velvety, homemade puree that can elevate a myriad of dishes.
How to Make Pumpkin Puree
Pin me 
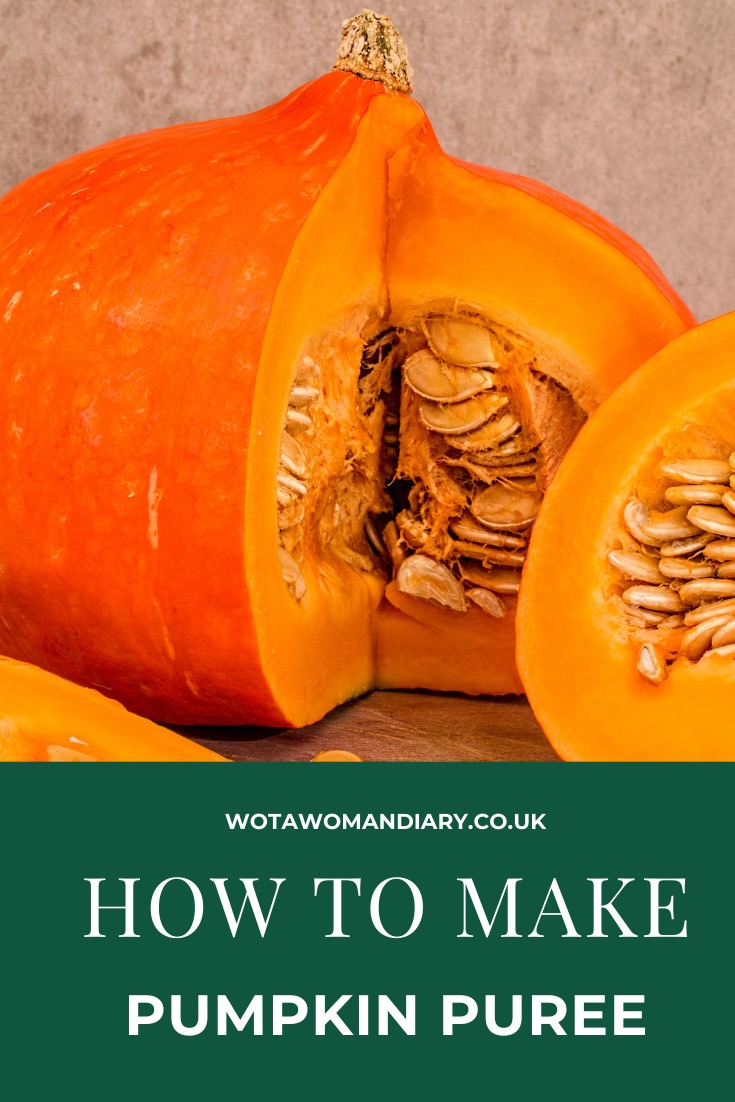
If you buy your pumpkins near the start of October, they are likely to cost you less than nearer the end of the month. The prices are usually inflated slightly for Halloween. I have already bought a few pumpkins which I am going to use for cooking and for home decor display pieces.
The journey to making pumpkin puree begins with choosing the right pumpkin. Look for sugar pumpkins or pie pumpkins, which are smaller and sweeter than the large carving pumpkins. These varieties are ideal for culinary purposes, ensuring a richer flavour and smoother texture in your puree.
Making homemade pumpkin puree is so easy to do. It really doesn’t take to much effort and tastes a lot nicer than tinned pumpkin puree.
Preparing The Pumpkin
Start by washing any dirt or mud off the exterior of your pumpkin.
Cut your pumpkin entirely in half. It needs to fit in your baking tin so consider the size of your tin when cutting it up. You can cut it into more than half this is just the easiest way I find. Generally, it is quite tough to cut all the way through a raw pumpkin.
Completely remove the stalk as there isn’t anything we can really do with that.
Remove all the pumpkin seeds and save these to roast another time. The stringy pulp can just be disregarded in the bin.
Roasting The Pumpkin
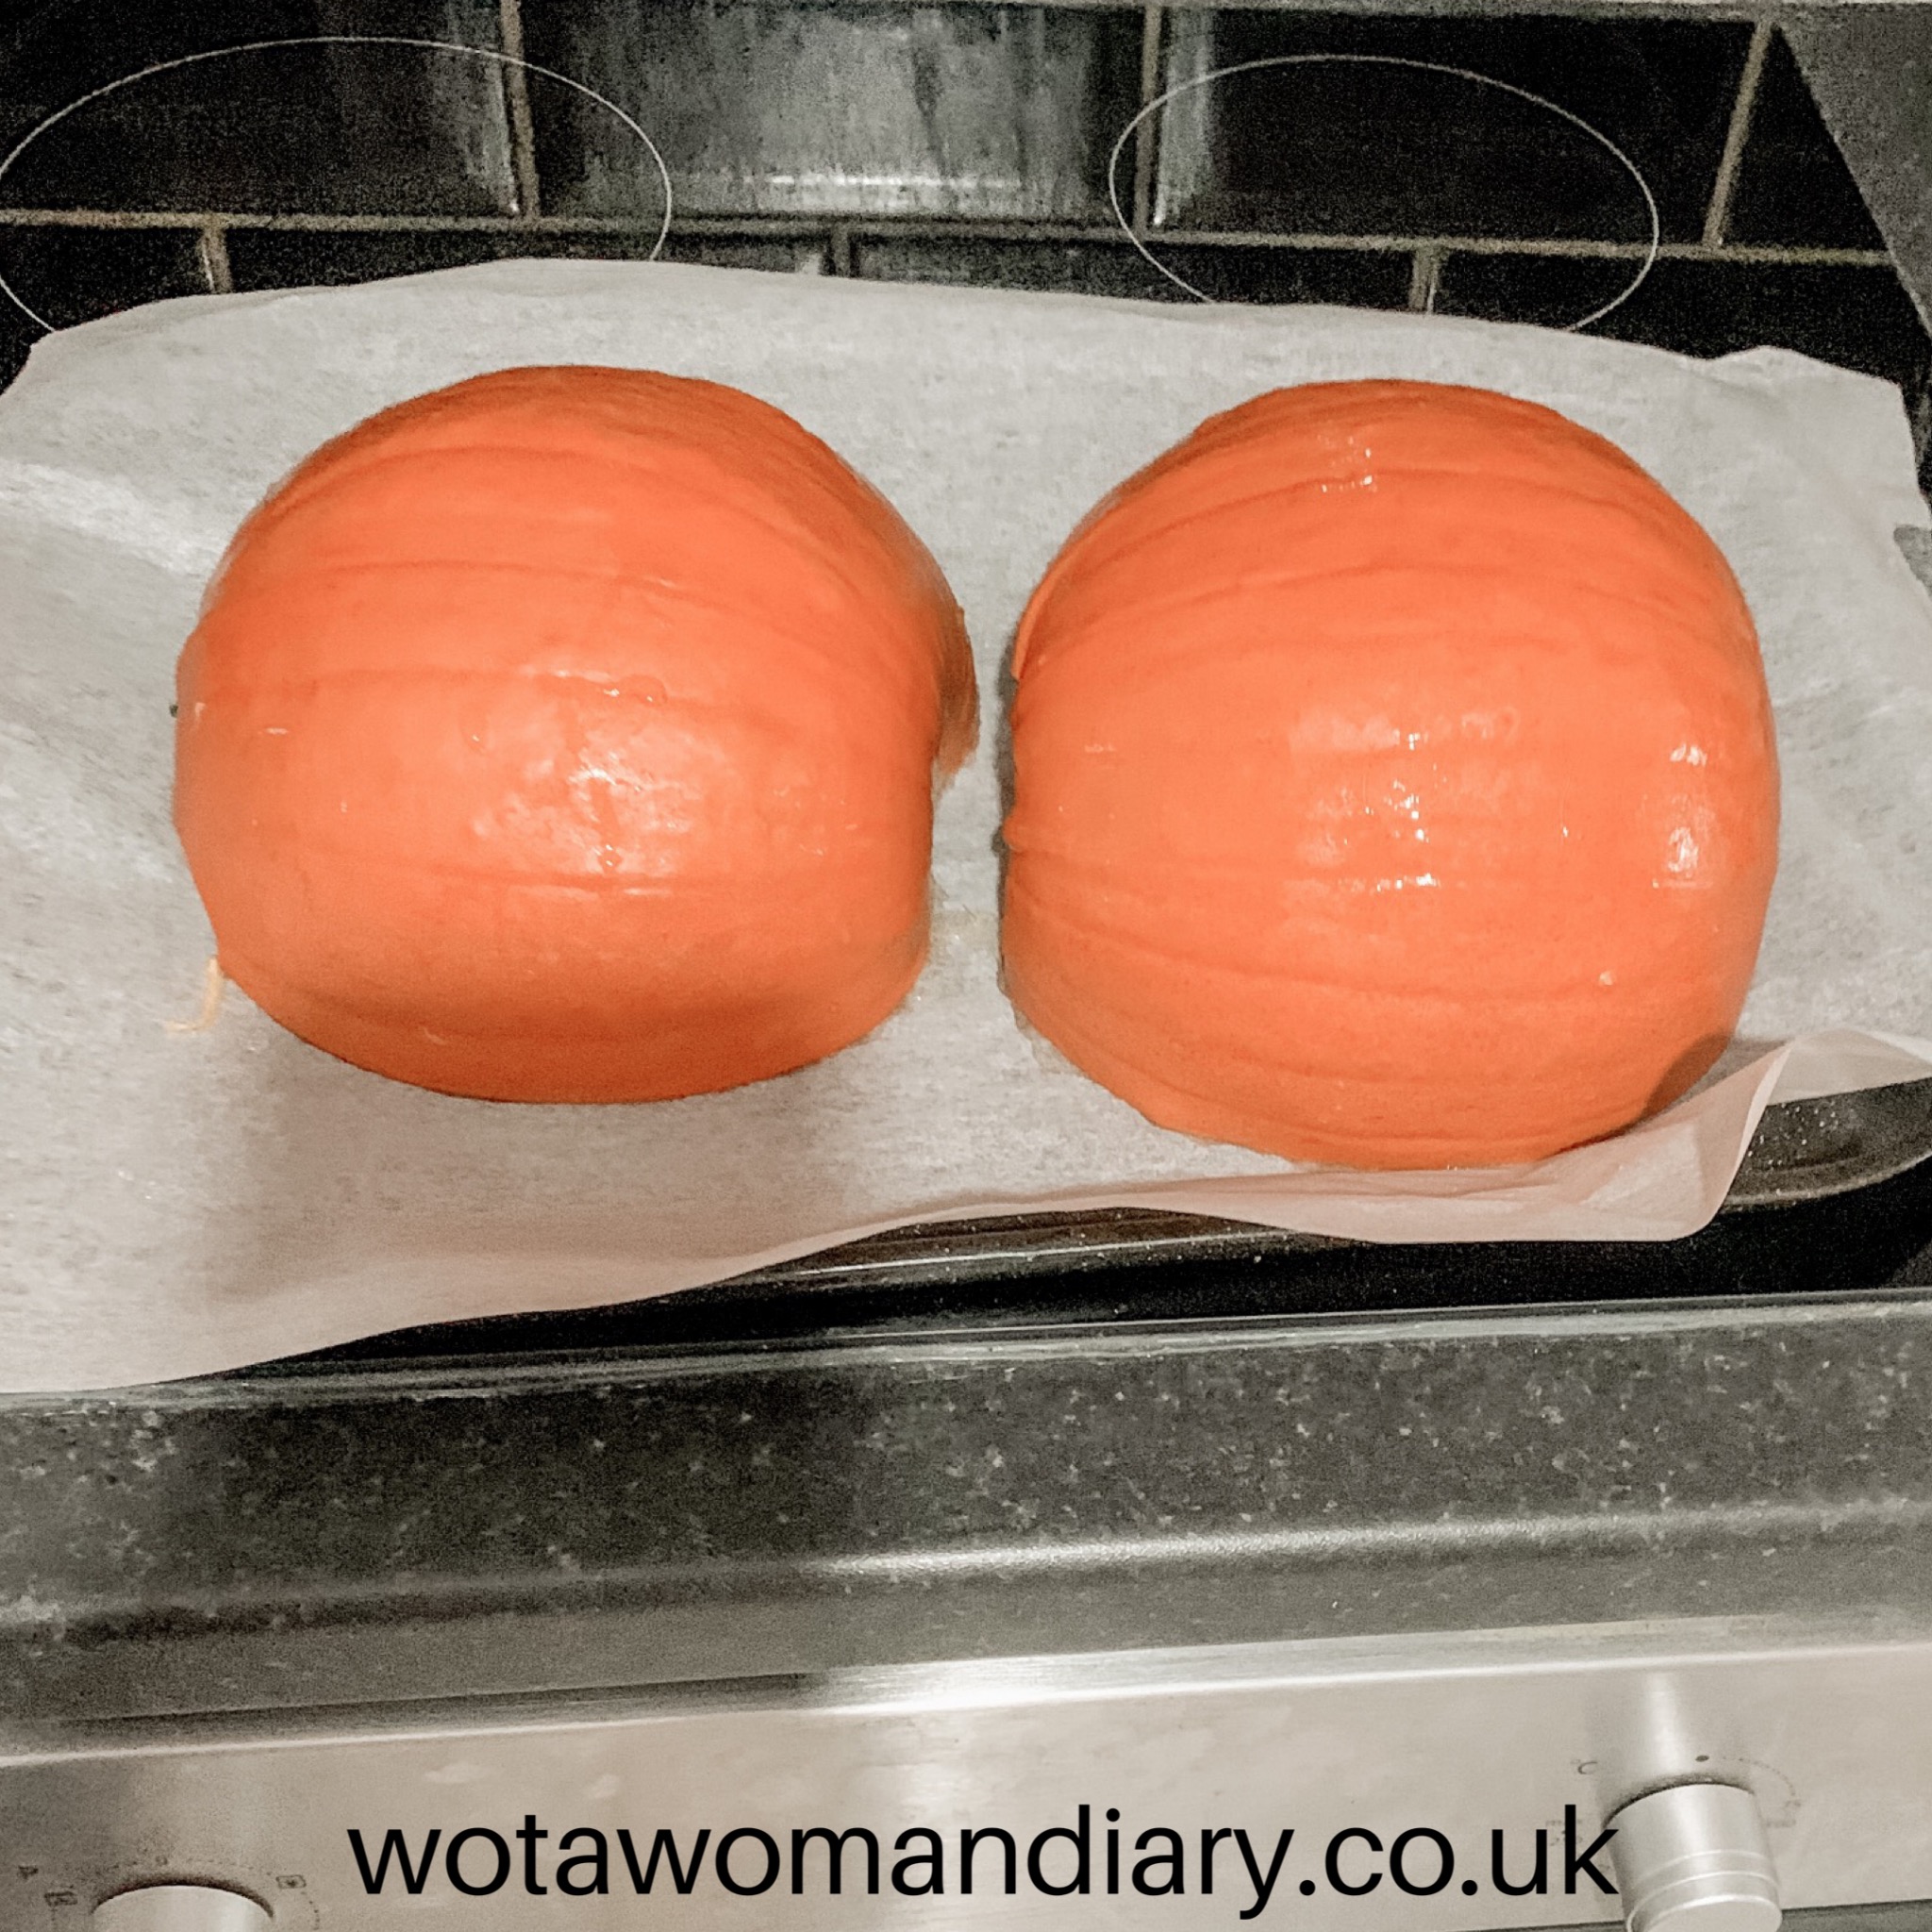
Place the pumpkin halves face down on grease-proof paper on a baking sheet, so skin side up.
Cook on high, about 180 degrees. The length of time will depend on the size of the pumpkin and the thickness of the flesh. But usually for about an hour as a guideline. An indicator is until the pumpkin flesh is tender and can be easily pierced with a fork.
The roasting process enhances the pumpkin’s natural sweetness and deepens its flavour profile.
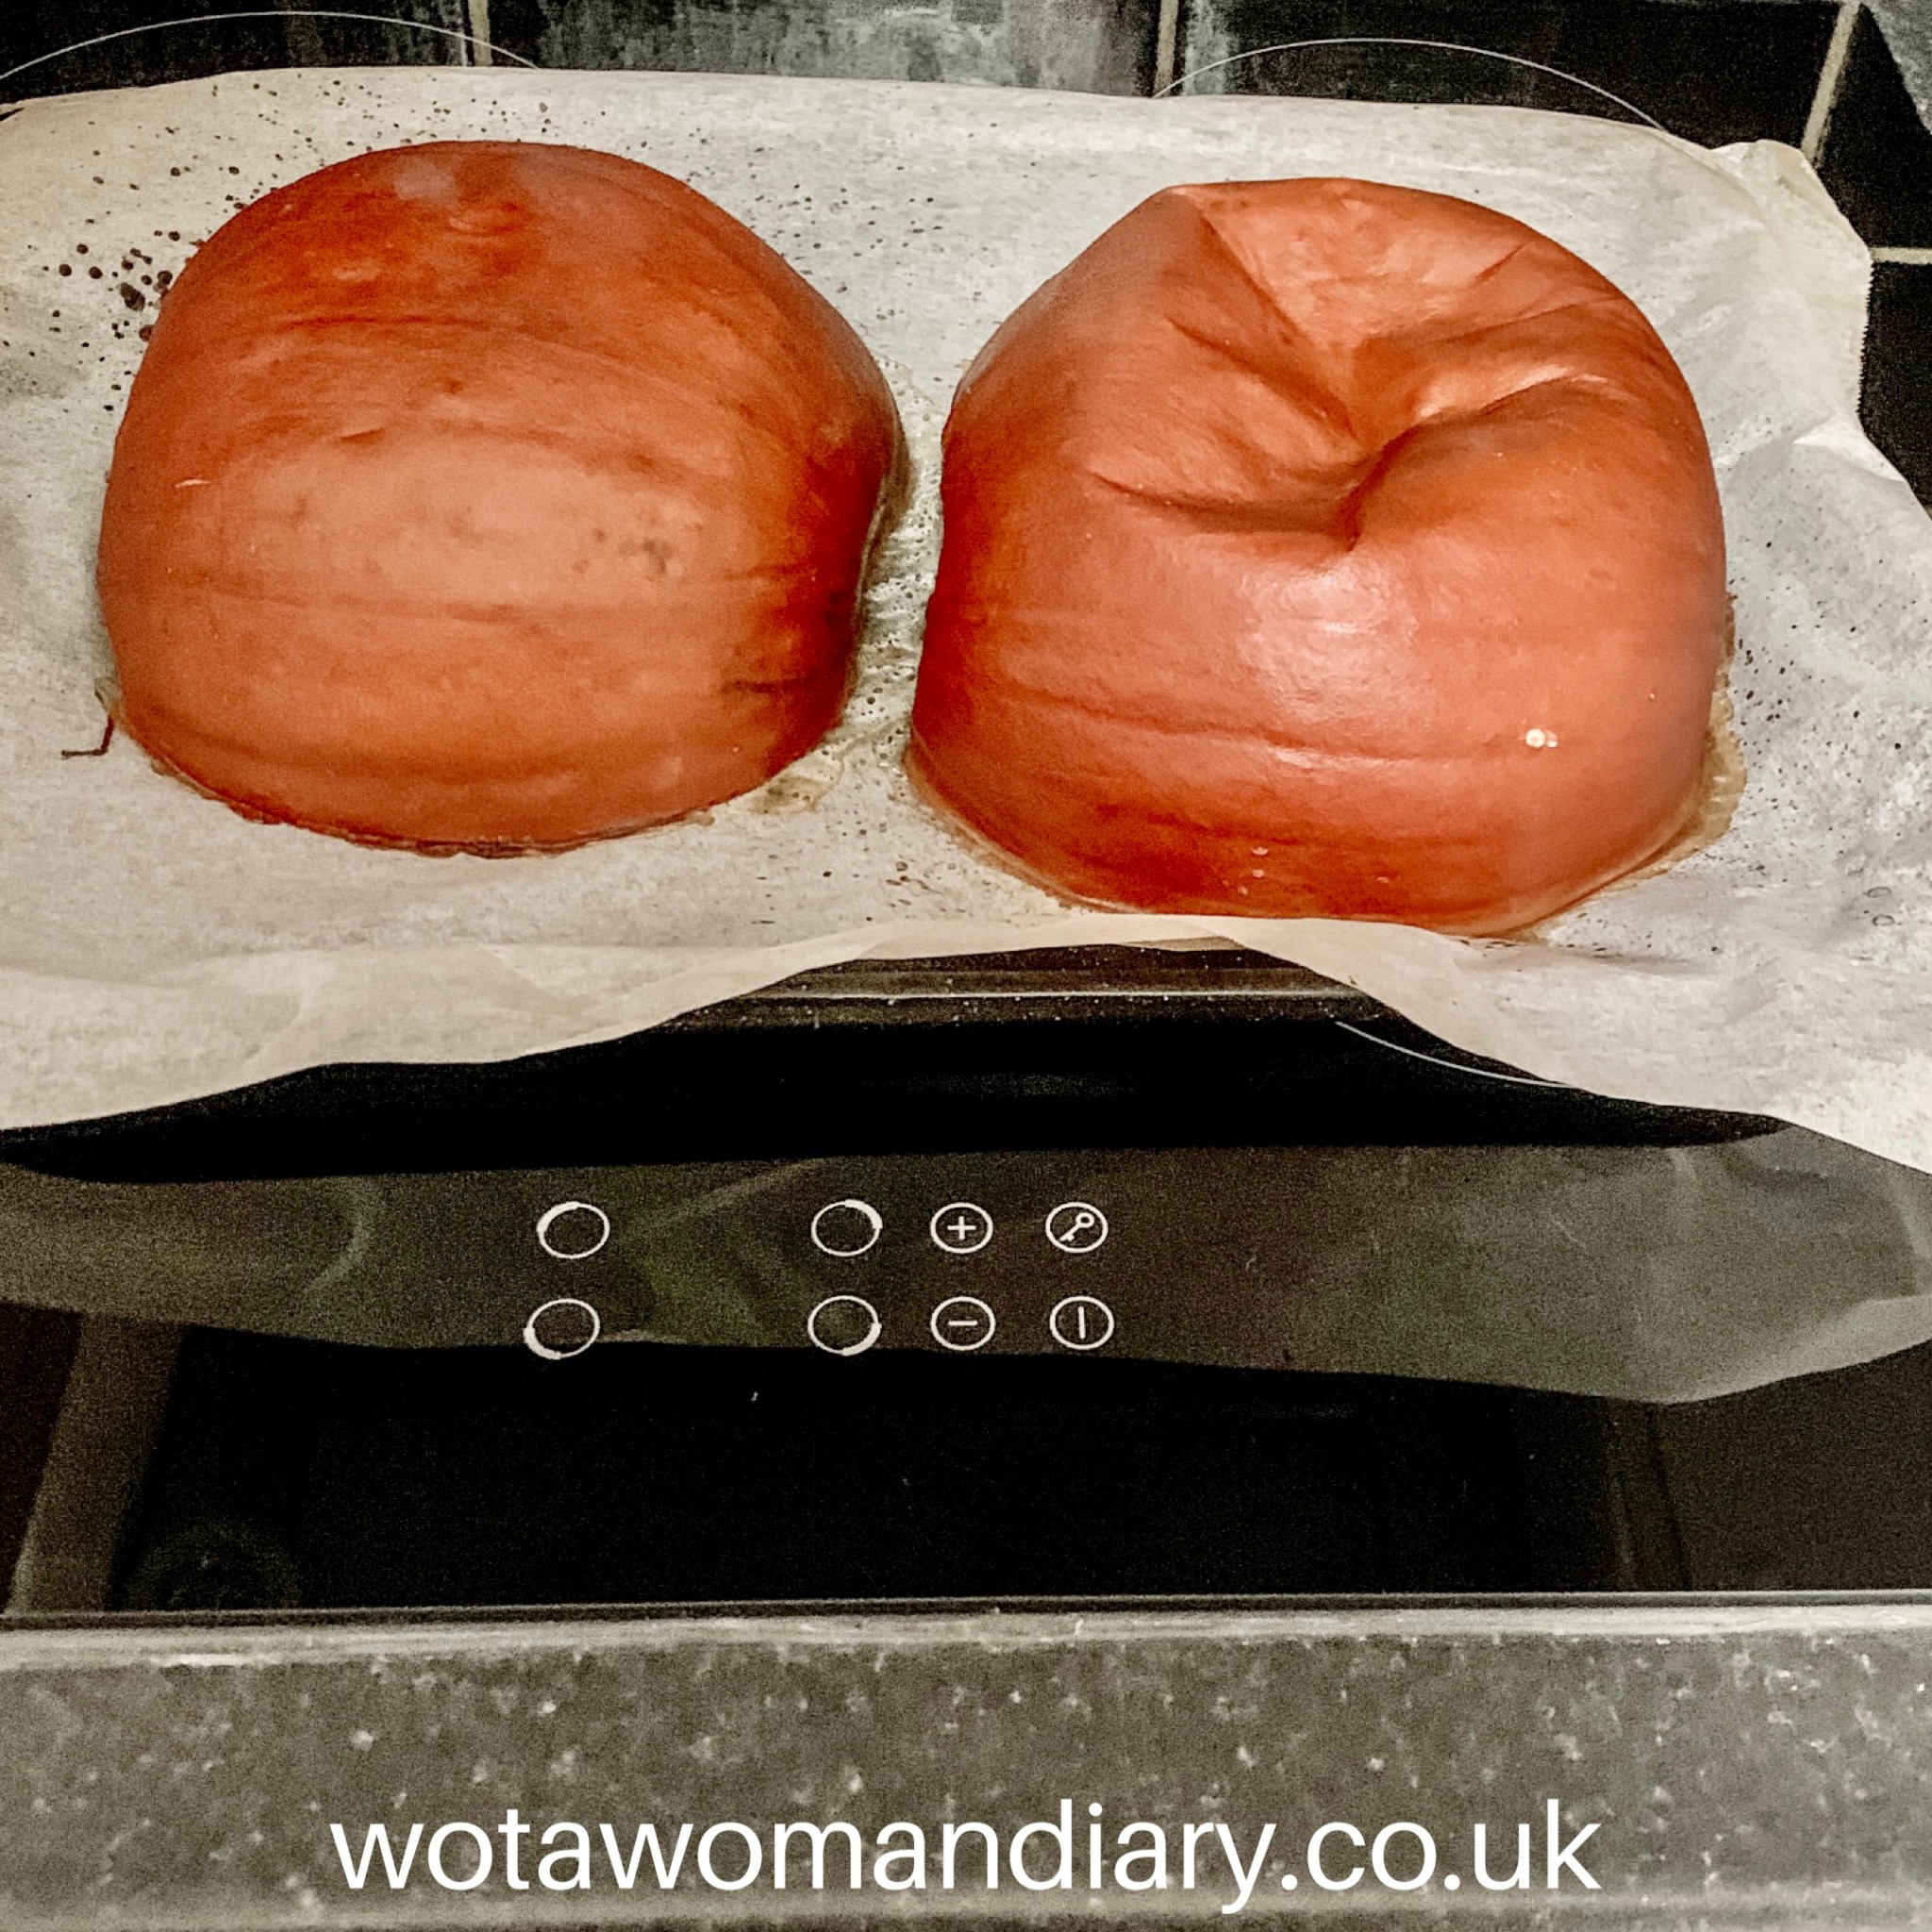
The flesh should be nice and soft and really easy to scoop out, to the point where it is almost falling out on its own. You will see your half has collapsed into itself slightly in the oven.
I find once it has cooled a little it is really simple to just peel off the skin to dispose of it.
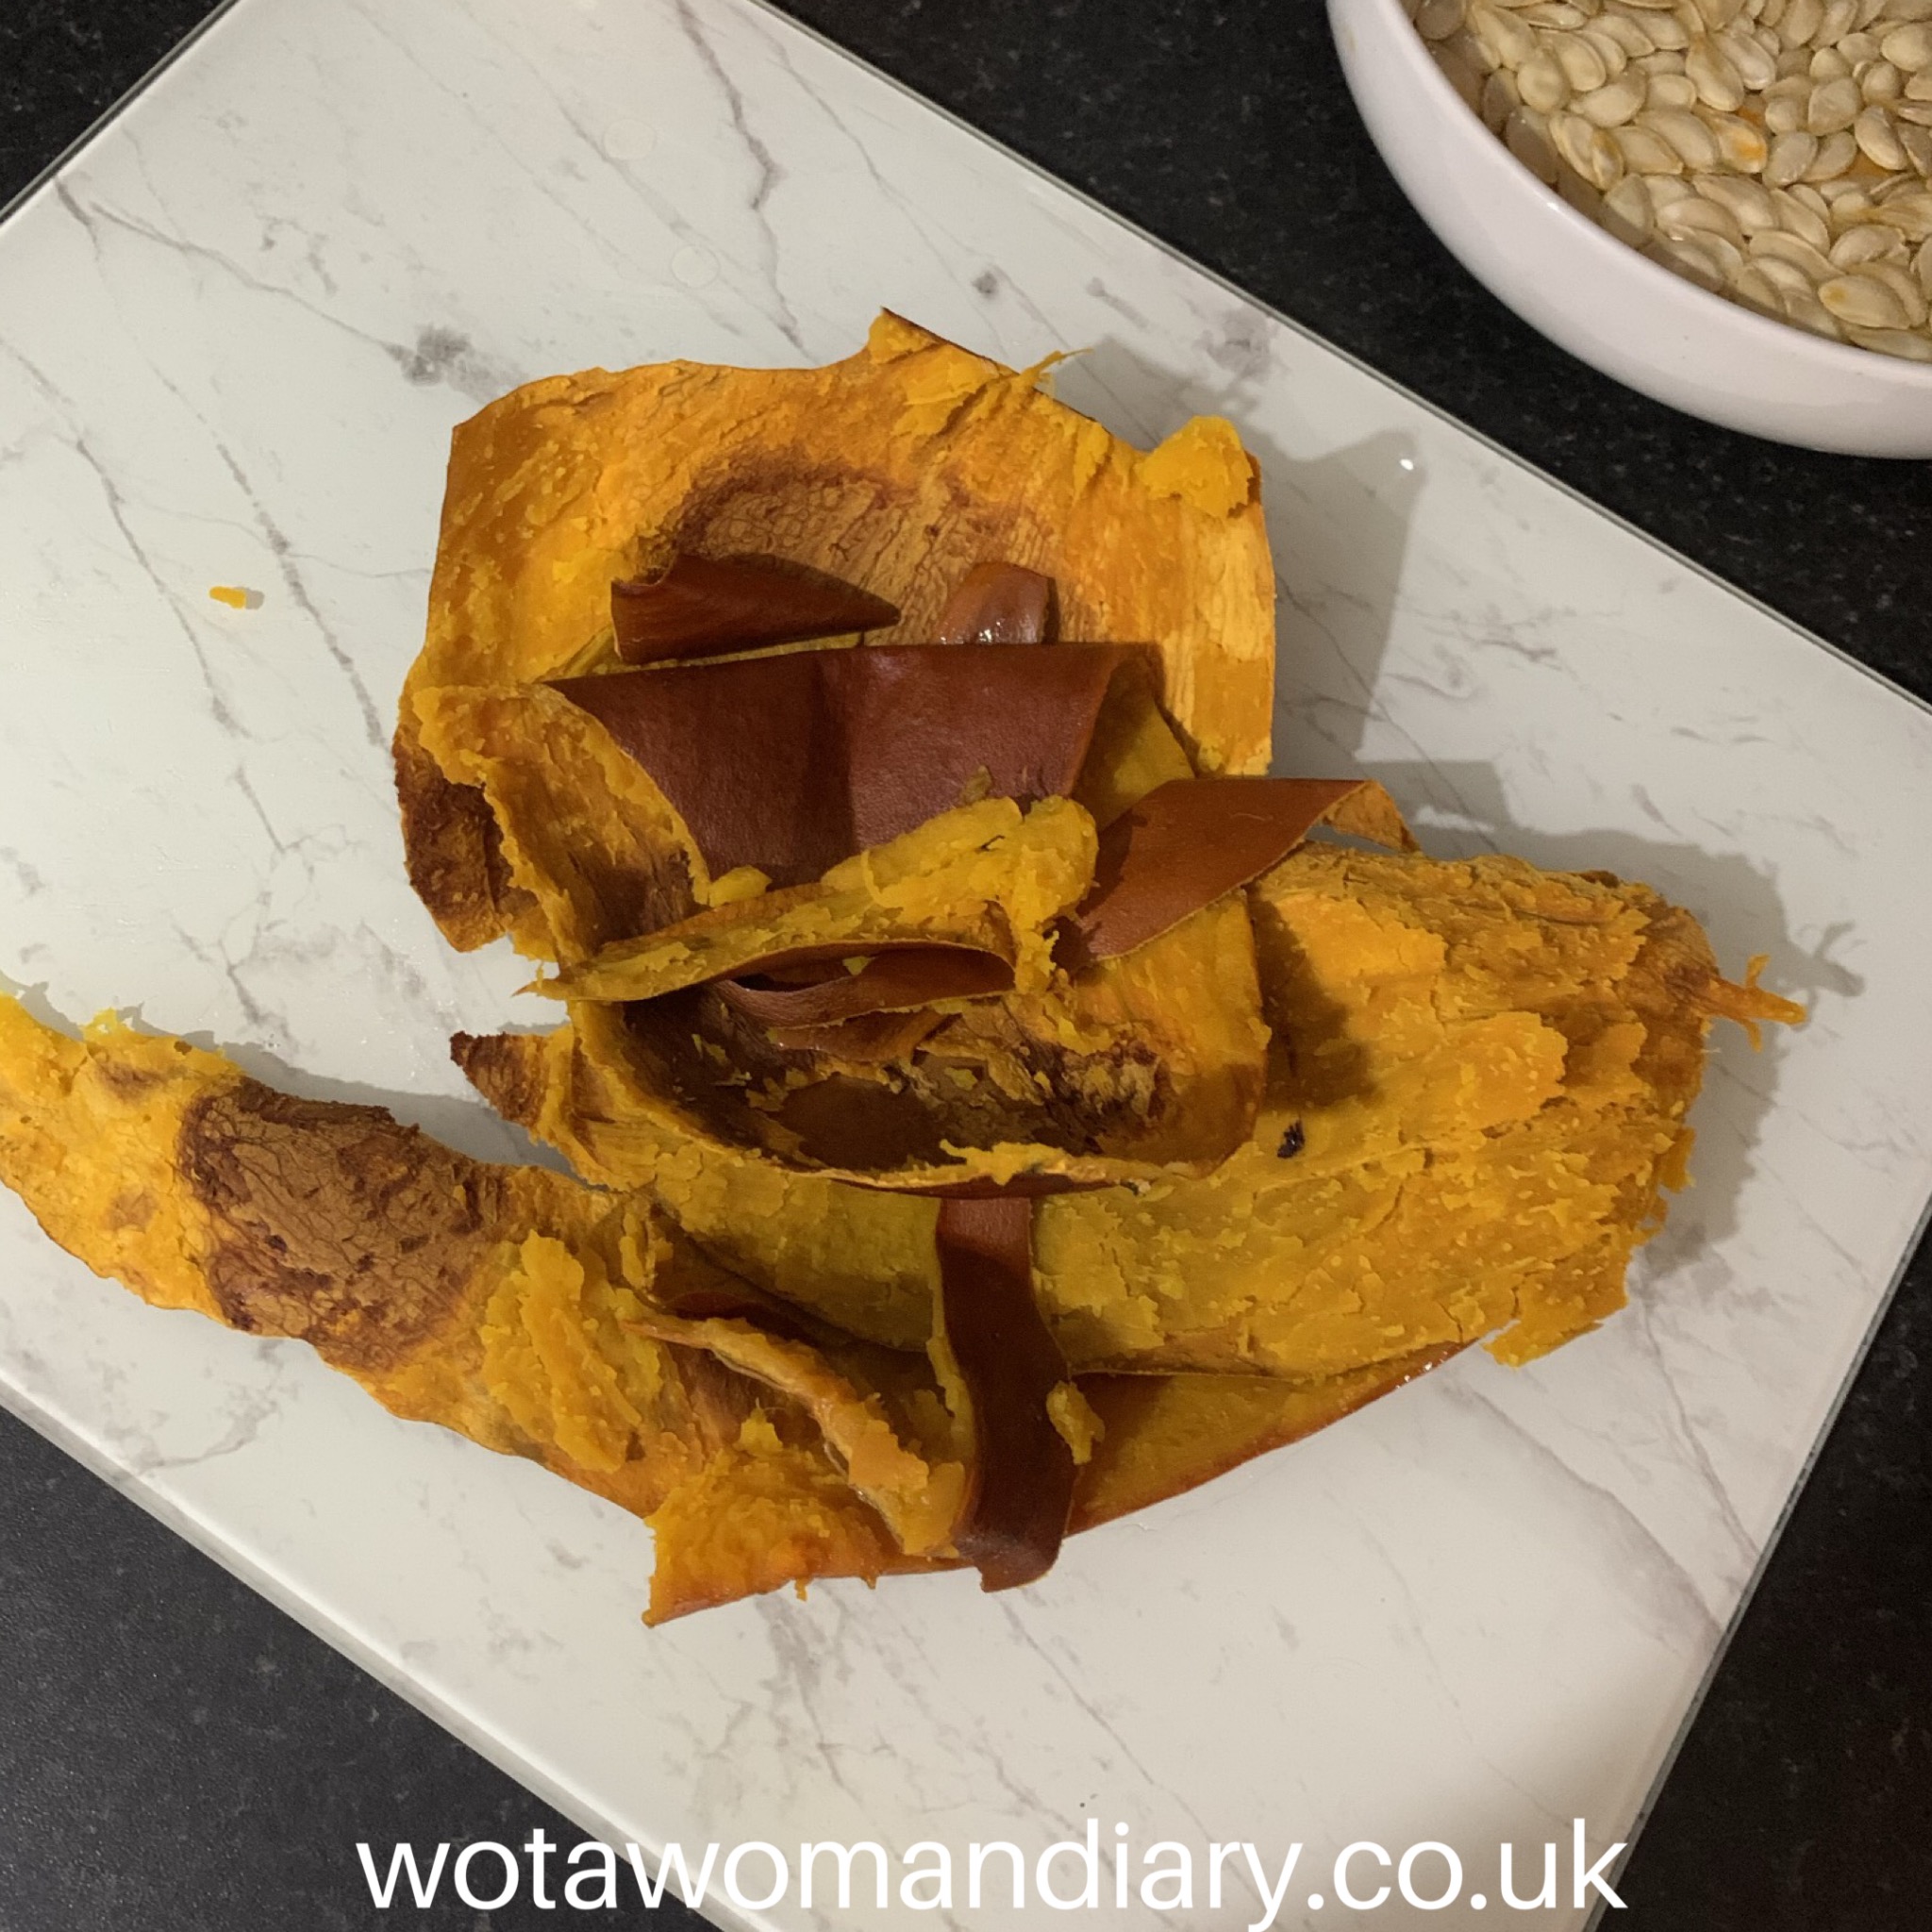
From there you can use a food processor or a smoothie maker and blend it to a puree. It is so soft you could even just mash it up into a puree without the use of a device. You can adjust the consistency by adding a small amount of water if needed.
I use food bags to freeze portions once it has been pureed to store for a later date.
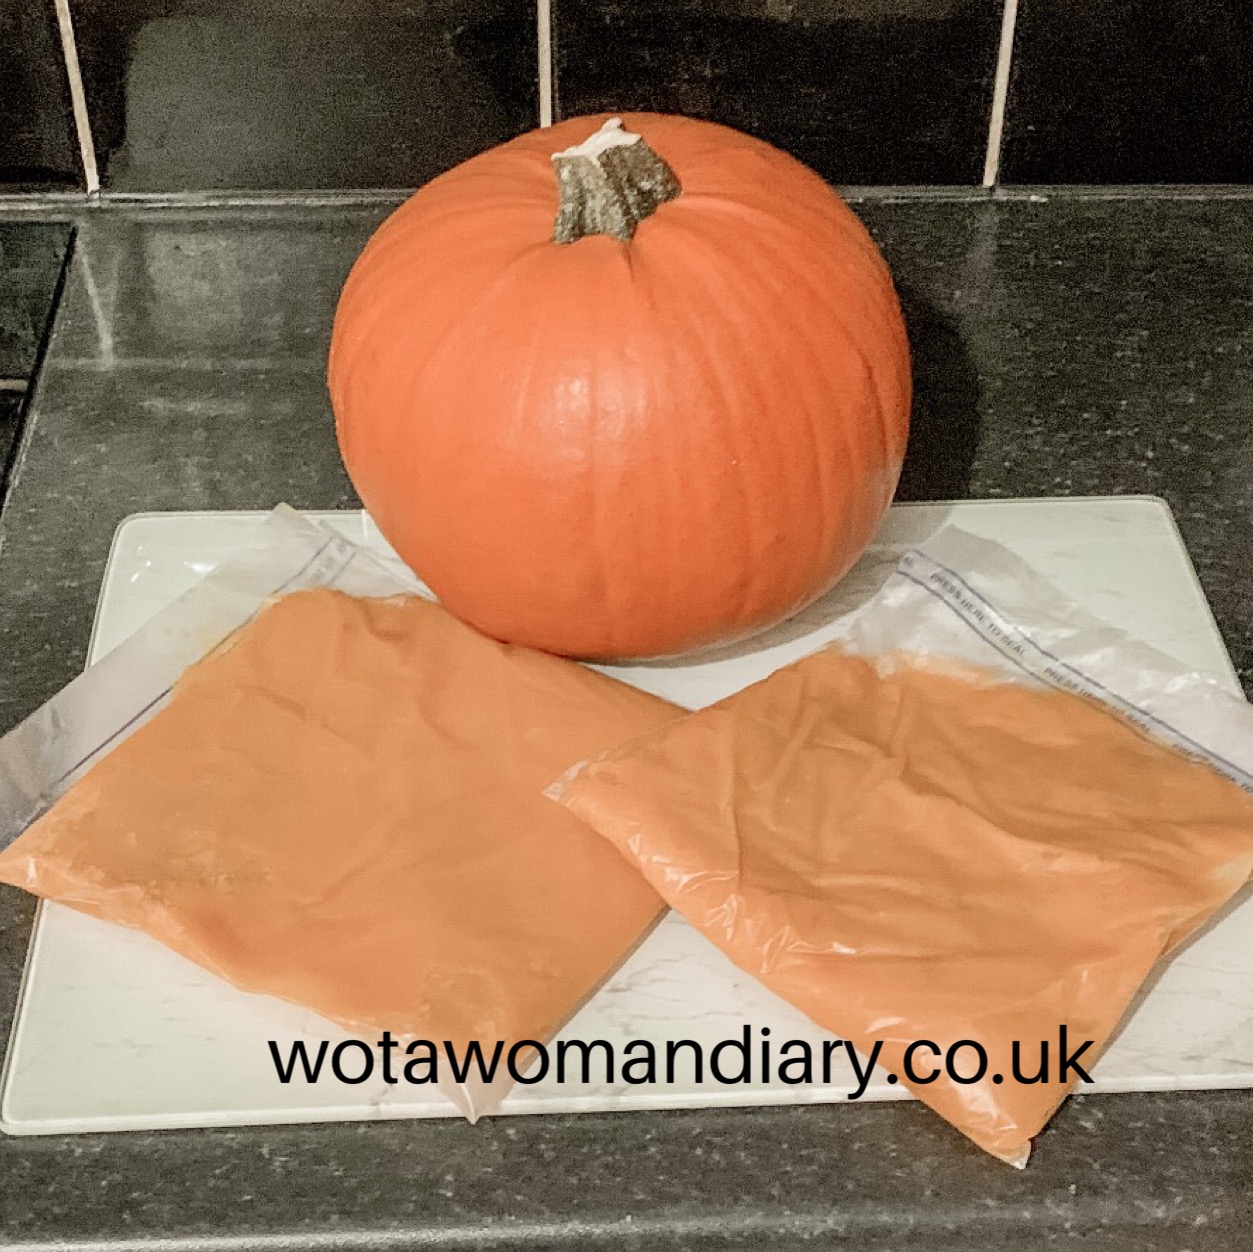
Storing Your Fresh Pumpkin Puree
Homemade pumpkin puree can be stored in the freezer for an extended period, allowing you to enjoy the flavours of autumn long after the season has passed. When properly stored, pumpkin puree can maintain its quality for up to 6 to 12 months in the freezer. Here are some tips to ensure optimal storage:
Airtight Containers: Transfer the pumpkin puree to airtight containers or heavy-duty freezer bags. Squeeze out as much air as possible before sealing to prevent freezer burn and maintain freshness.
Portion Control: Consider dividing the puree into smaller portions before freezing. This makes it easier to thaw only the amount you need for a particular recipe, reducing waste.
Labelling: Clearly label each container or bag with the date of preparation. This helps you keep track of how long the pumpkin puree has been in the freezer and ensures you use the oldest batches first.
Freezer-Safe Containers: Ensure that the containers or bags you use are explicitly designed for freezer storage. This helps prevent freezer odours from affecting the taste of the puree.
Safe Thawing: When you’re ready to use the pumpkin puree, transfer it to the refrigerator and allow it to thaw slowly. This can take several hours or overnight. Avoid thawing at room temperature to minimize the risk of bacterial growth.
Quality Check: Before using the thawed pumpkin puree, check its colour, texture, and aroma. If it looks and smells normal, it’s likely safe to use. However, if you notice any signs of freezer burn or an off smell, it may be best to discard it.
By following these storage tips, you can ensure that your homemade pumpkin puree remains delicious and ready to enhance your favourite recipes for an extended period.
Pumpkin Puree Is Simple To Make
Making your own pumpkin puree is a rewarding and straightforward process that adds a touch of homemade charm to your autumn recipes. Whether you are making pumpkin pie, pumpkin cupcakes or pumpkin cookies being able to use your homemade pumpkin puree will be really rewarding.
By following these simple steps, you can savour the rich, authentic taste of pumpkin in various dishes throughout the year.
So, roll up your sleeves, embrace the fall spirit, and embark on the delightful journey of crafting your very own pumpkin puree. Your taste buds will thank you!
Pin this for later

Leave a Reply